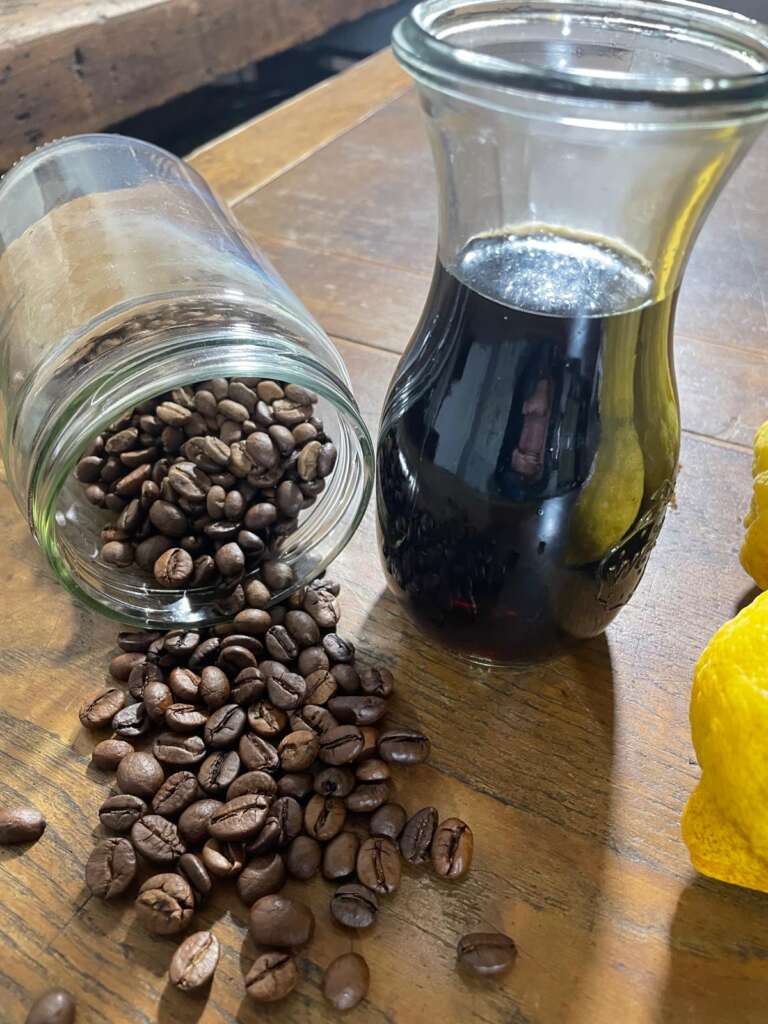
Making liqueur at home couldn’t be easier, and it’s a great way to make use of citrus peel which often ends up going to waste. And if you have a lot of citrus like we do then it’s a no-brainer!
There are three basic ingredients needed to make homemade liqueur: fruit to create your preferred flavour, a white spirit to steep the fruit in, and sugar.
And the best part is that a flavoured liqueur can be ready in as little as a week. The resultant liqueur can then be stored for years, though if you’re like us it’s unlikely to take that long to get to the bottom of a bottle.
Basic Homemade Liqueur Process
There’s no magic science to making homemade liqueurs, and often we change our measures from batch to batch, but there are a couple of basic steps that you need to follow.
Step 1: Create a flavour infused alcohol base
Whether you want to create an lemon-y limoncello, a damson gin or coffee liqueur you will always need to start with the flavour base.
Place sufficient quantities of fruit, peel, beans, flowers etc into a jar and fill until half to three quarters full. Pour in your preferred spirit base – typically this is a white spirit but you can also use rum or brandy if that’s more your thing.
Make sure that the liquid covers your flavour base, add a lid that seals your jar and place in a dark cool place to allow the infusion to take place. It is recommended that the jar sit for 2 weeks minimum but it is possible to reduce this time depending on the fruit being used. In the case of citrus, most of the oil will infused into the alcohol in just a few days, but we find a couple of weeks is a lot better.
If you find that the fruit floats, give the jar a little shake every day for a couple of days until the fruit absorbs some of the liquid and sinks down. If the liquid still doesn’t cover the fruit simply top up the jar with your spirit until there is no exposed fruit at the top.
Step 2: Add a simple sugar syrup
Adding a sugar syrup will make the liqueur a lot more enjoyable to drink – how much you add is dependent on your taste buds and also on the ABV of the spirit you have used. We tend to find that for standard shop bought spirits a ratio of 2 parts infused alcohol to 1 part sugar syrup is about right but for higher proof spirits you’re likely to need more sugar syrup.
A simple sugar syrup is made by combining one part sugar to one part water, heating on the stove until all the sugar has dissolved leaving a clear liquid. We tend to make sugar syrup in a large batch (1kg sugar with 1 litre of water) and leave any leftovers in a bottle for cocktails or to use up next time.
Step 3: Get creative and try different combinations
There is no right or wrong when it comes to making liqueurs at home, make what tastes good to you. Experiment with different flavours, different amounts of sugar syrup, different types of sugar and even adding additional flavours. The combinations really are endless.
Tangcello Recipe

The exact portions we used in the video to make 1 litre of Tangcello:
- 650ml tangerine infused aguardente
- 350ml sugar syrup (a 1-to-1 mix of sugar and water)
If you missed the video from 2 years ago where we started the infusion process you can find it here:
Limoncello Recipe

The exact portions we used in the video to make 800ml of Limoncello
- 400ml lemon infused vodka (standard store bought 37.5% ABV)
- 200ml sugar syrup (a 1-to-1 mix of sugar and water)
- 200ml lemon juice (or juice of 3-4 large lemons)
The lemon juice is totally optional but we think it turns an ok liqueur into something quite exceptional.
Coffee Liqueur Recipe

The exact portions we used in the video to make 300ml coffee liqueur:
- 200ml coffee infused vodka (standard store bought 37.5% ABV)
- 100ml sugar syrup (a 1-to-1 mix of sugar and water)
We added a vanilla pod to the alcohol base for the next batch and will experiment with using either brown or demerara sugar.


Join the Conversation
Become a member to chat to us and other members about all sorts of fascinating topics.
JOIN THE CLUB